Archives

Wordpress Developer

How To Add New Option Types To Option Tree

May 15, 2018

You can do this by adding the following code without ever editing the core files in OptionTree.
When you add new options, there are two requirements.

Step 1:  Function must be prepended with ot_type_:               


if ( ! function_exists( ‘ot_type_custom_post_checkbox’ ) ) {function ot_type_custom_post_checkbox( $args = array() ) {/* Add custom code here */
}}

Step 2:  when adding to the array of options your new array keys need to match the function name minus ot_type_,  ot_type_custom_post_checkbox you could add it to the filtered array by following code:                   


function unidash_add_custom_option_types( $types ) {
$types['custom_post_checkbox'] = 'Custom Post Type Checkbox option type';
return $types;
}


Step3: You can add new option type like another option type in option tree   

array(
‘id’ => ‘search_exclude_cpt’,
‘label’ => esc_html__( ‘Exclude Custom Post Type’, ‘unidash’ ),
‘desc’ => esc_html__( ‘Exclude Custom Post Type from Search Results’, ‘unidash’ ),
‘type’ => ‘custom_post_checkbox’,
‘section’ => ‘search’,
‘operator’ => ‘and’,),

Ok, finally you can create new option types like this:


Wordpress Developer, WordPress Plugins, WordPress Tips

How to use URL field in Visual Composer

February 28, 2018

URL field of Visual Composer is “vc_link” param type. The user can use this field to search and add a link of post/page… link exactly and easy. Besides, that user can type link directly like another text field. Moreover, the user can add target attribute equal “_blank” to open link in a new tab and add rel attribute equal “nofollow” for SEO campaign.
Url Field Setting

1. Add the URL field to your custom element

Visual Composer already has an URL field and we only need to add it to custom code.

2. Manage and edit the HTML

3. Result and Complete Code

Wordpress Developer

How to use Autocomplete param type in Visual Composer

December 19, 2017

The parameter Autocomplete suggests for you: post, page, custom post type, categories, custom taxonomies by your keywords.
So you can select which one you need easily. By default, you usually use in Post Grid Shortcode, Post Masonry Shortcode
Autocomplete in Visual Composer Post Grid Shortcode Autocomplete in Post Masonry Shortcode

And if you want to use this Autocomplete param type in your shortcode, please follow some steps below:

1. Create Function to gell post result by suggested keyword or post id:


function felis_blog_post_autocomplete_suggester( $query) {
global $wpdb;
$post_id = (int) $query;
$post_results = $wpdb->get_results( $wpdb->prepare( "SELECT a.ID AS id, a.post_title AS title FROM {$wpdb->posts} AS a
WHERE a.post_type = 'post' AND a.post_status != 'trash' AND ( a.ID = '%d' OR a.post_title LIKE '%%%s%%' )", $post_id > 0 ? $post_id : - 1, stripslashes( $query ), stripslashes( $query ) ), ARRAY_A );
$results = array();
if ( is_array( $post_results ) && ! empty( $post_results ) ) {
foreach ( $post_results as $value ) {
$data = array();
$data['value'] = $value['id'];
$data['label'] = $value['title'];
$results[] = $data;
}
}
return $results;
}

2. Add function in step 1 to vc_autocomplete posts_callback filter:

add_filter( 'vc_autocomplete_felis_content_slider_2_posts_callback', 'felis_blog_post_autocomplete_suggester', 10, 1 );

felis_content_slider_2 is your shortcode base name.

3. Create function render result in step 1:


function felis_post_autocomplete_suggester_render( $query ) {
$query = trim( $query['value'] );

    // get value from requested
if ( ! empty( $query ) ) {
$post_object = get_post( (int) $query );
if ( is_object( $post_object ) ) {
$post_title = $post_object->post_title;
$post_id = $post_object->ID;
$data = array();
$data['value'] = $post_id;
$data['label'] = $post_title;
return ! empty( $data ) ? $data : false;
}
return false;
}
return false;
}

4. Add function in step 3 to vc autocomplete posts render:

add_filter( 'vc_autocomplete_felis_content_slider_2_posts_render', 'felis_post_autocomplete_suggester_render', 10, 1 );

felis_content_slider_2 is your shortcode base name.

In conclusion, you can use Autocomplete param type in your shortcode like this:
Autocomplete in Felis Content Slider 2 Shortcode

WordPress Themes, WordPress Tips, WordPress Tutorials

Awesome things you can do with WordPress Widgets in 2017

December 18, 2017

As you know WordPress has released two versions of its adjustment in 2017: version 4.8 “Evans” and version 4.9 “Tipton”. Here are the great features that WordPress upgrades to Widgets:

The New Image Widget

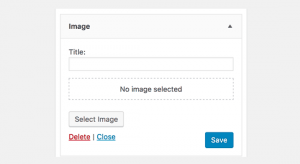
WordPress 4.8 will introduce an image widget which will allow users to easily add images to the sidebar. You will be able to upload or select an image from the WordPress media library. Clicking on the select image will open the WordPress media uploader popup where users can upload or select an image. After inserting the image, users will be able to see a preview of the image in the widget area.

Wordpress Image Widget

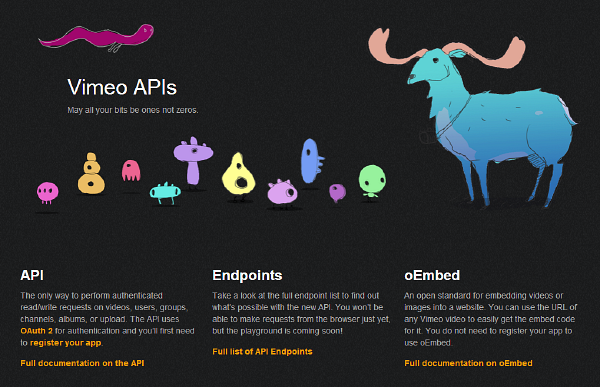
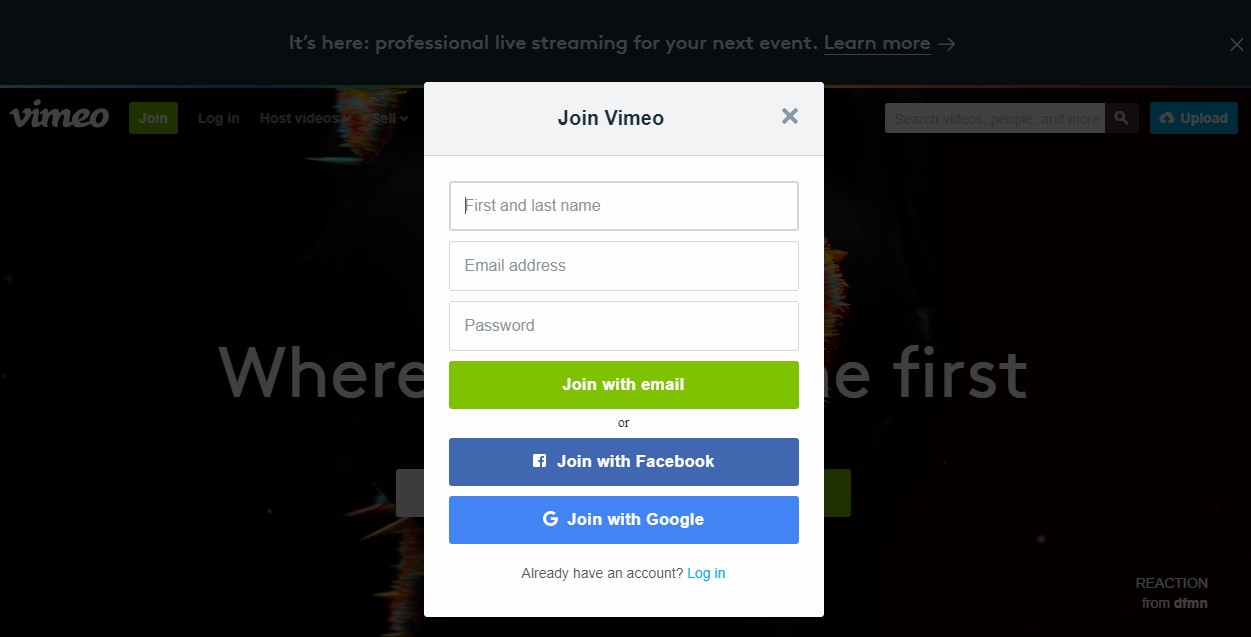
The New Video Widget

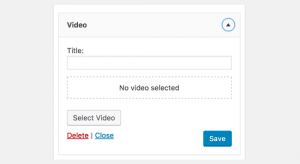
Similar to the image widget, WordPress 4.8 will also introduce the Video widget. It will allow users to easily upload videos to their sidebar or display any video from YouTube, Vimeo, or any other Oembed provider.  Add the URL of the video you want to embed and then click on the ‘Add to widget’ button. The media uploader popup will disappear, and you will see a thumbnail preview of your video inside the widget.

Wordpress Video Widget


The New Audio Widget

Are you a podcaster, musician, or avid blogger? Adding a widget with your audio file has never been easier. Upload your audio file to the Media Library, go to the widget settings, select your file, and you’re ready for listeners. This would be an easy way to add a more personal welcome message, too!

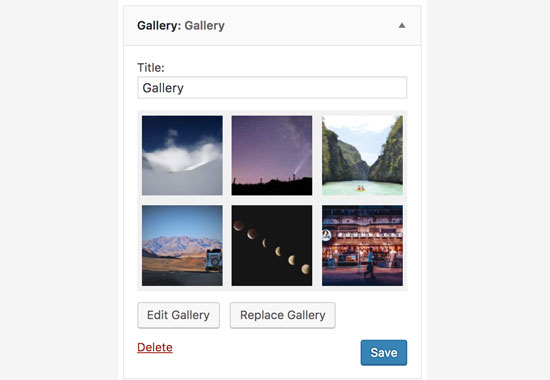
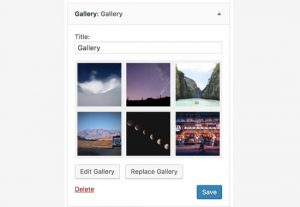
The New Gallery Widget

WordPress 4.9 allows you to have a new Gallery widget to manage it your way. The functionality of gallery widget is as simple as it can get, just simply add images from your WordPress image library by using the Add Images button. You can also use this widget as a temporary way of making people intrigued on your social media platforms like Instagram and Pinterest by viewing thumbnails to create a collage of a single snapshot. So this new gallery widget feature in WordPress 4.9 will definitely create a lot of interest to more of your posts now.

Wordpress Gallery Widget

New and improved text widget

Like it or not, the current default text widget in WordPress is not the most useful thing for the regular user. It supports only raw text (or HTML code) and gives you no formatting tools at all. But the new text widget is set to change that with the inclusion of visual editor. Quite similarly, you will be able to switch between Visual and Text when editing widget content. And, yes, you get some standard formatting tools in both modes. I personally believe that this will finally make the text widget a usable tool for the non-code-savvy user who wants to include some custom content into a widget area. This is overall a great step towards putting the spotlight on the end user and their needs!

Previously, you need to have a basic knowledge of HTML and CSS to use media in Text Widget. With WordPress 4.9, you will have the “Add Media” button so you could insert images, videos, audio in the Text Widget easily.

Shortcodes in Text Widget

WordPress now parses shortcodes, and makes them work in a widget.


WordPress Tips

How to get Vimeo Client Identifier and Client Secret

November 7, 2017

Follow below steps to get your Vimeo Client Identifier and Client Secret:

Step 1: If you don’t have an account on Vimeo, self-create a new Vimeo account at https://vimeo.com/join

Vimeo Login

Step 2: Go to https://developer.vimeo.com/apps/ and login.

Vimeo Developer Dashboard

Step 3: If you have already created an app then follow the procedure from Step 5, else follow step 4 to create a new appVimeo Creat App

Step 4: Provide the required info, check I agree checkbox and click on Create App button.Vimeo Create App Fill Field

Step 5: Click on Authenticate tabVimeo Create App Authenticate

Step 6: Click on Generate Token buttonVimeo Generate Token

Step 7: Copy Client Identifier and Client Secret Vimeo Client Identifier and Client Secret


Well Done. You can use your Client Identifier and Client Secret in some WordPress Plugins use Vimeo API