Are you a Word Press user which own an educational site or a personal blog with niche topics? You are tired of having to explain the technical terms to the reader over and over. If so, congratulation! You’ve come to the right place. In this blog post, I’m going to show you how to create a glossary using the free CMP glossary tooltip plugin. Yes, it’s a kind of “Write less, do more” 😉
First, get the plugin at https://wordpress.org/plugins/enhanced-tooltipglossary/.
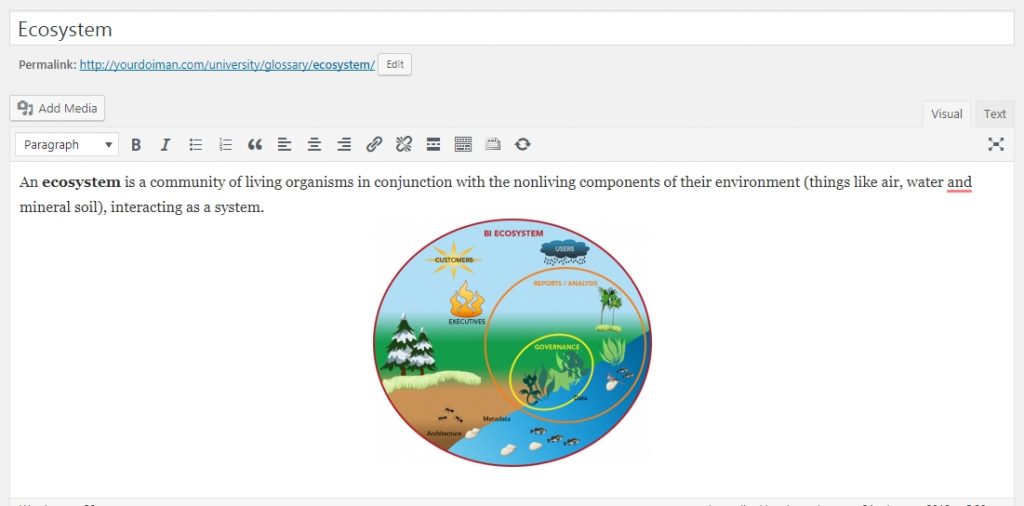
Once the plugin is installed and activated, you can easily start defending your terms by going to CMP Glossary Tooltip > Add New. The title of the page should be the term, the body content should be the definition. You are free to add content to
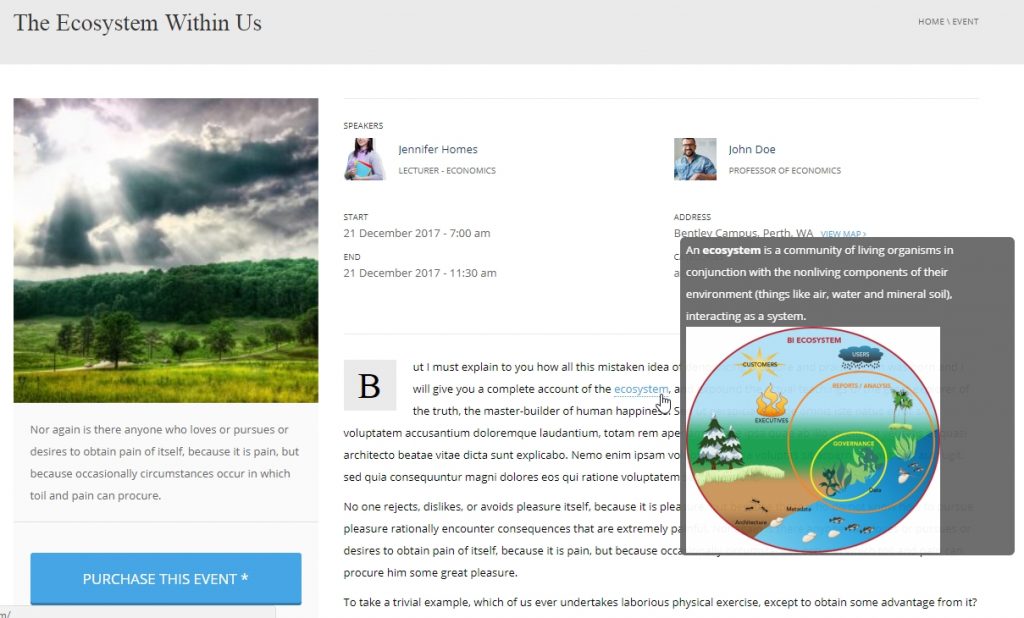
The plugin will scan your posts or pages for defined glossary terms, by adding links to a glossary term page that contains the definition of the term used. When users hover over a specific term, it displays a tooltip containing the definition of this term. You can take a look at this example to see how it work in our University theme:
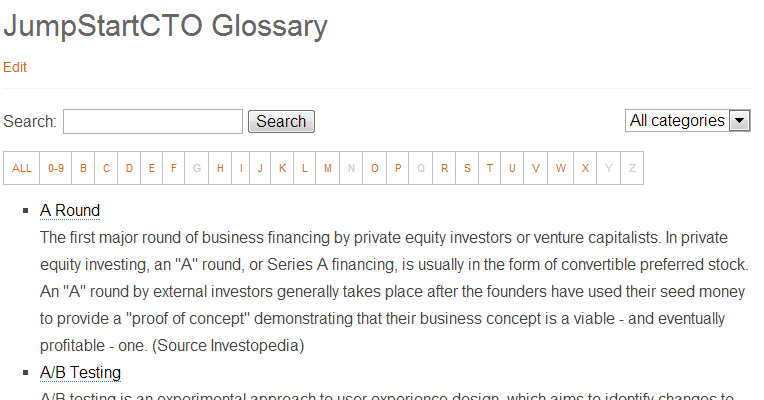
Although this tooltip limits 500 terms for the free version, it allows you to add unlimited tooltips to a site or within a glossary of terms. Another plus point is that it also creates a responsive glossary index with all tooltip glossary terms used for your site, hence readers can quickly find the term they want.
In my opinion, many webmasters can build a small encyclopedia or dictionary for their website within this plugin. Many others possibly want to have more advanced functions such as related terms, abbreviations, variations, synonyms etc. The hint is the Pro version of CM Tooltip Glossary.
That’s why we love Word Press, isn’t it? You have a great free version to use as long as you want. And there’s always a premium version to explore more features 🙂


