Media Library
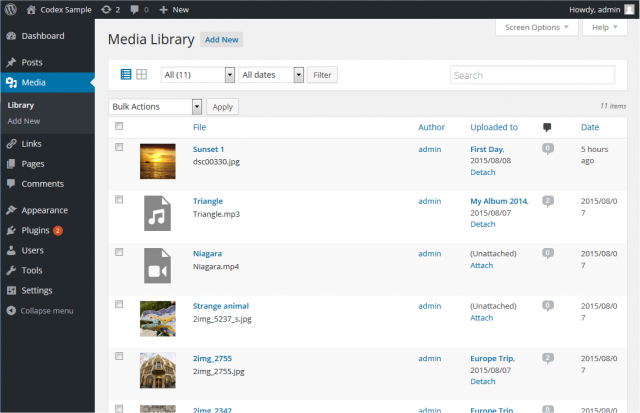
You can easily manage all the images and media files uploaded by accessing to “Media -> Library” in Dashboard.
In this part, you can view the whole files you uploaded and choose the type of displaying (mesh or common type). You can also see the date and month as well as click the connection “Add New” to upload the files without opening the text editor.
Insert photos and media files
In the post or page editor screen, you can easily see the button “Add Media” right above the editor area. Thanks to this, we can insert all kinds of media files from images, sounds to videos and so on into the content of themes, particularly, WordPress education themes. By default, WordPress supports you to upload files directly from your computer to the website and save them on the host. Moreover, you can insert images from any links.

Below is the theme displaying after pressing the button “Add Media”

In this way, it is suggested that you should upload the files right to the host (except from the extremely large files with the size of more than 10 MB) so that you can easily manage and reuse them.
You should try to upload a media file by pressing the button “Select Files” or drag and drop the photo to the space on the window. Additionally, you can upload many files at the same time.
After uploading, the media file ready for inserting will look like below:
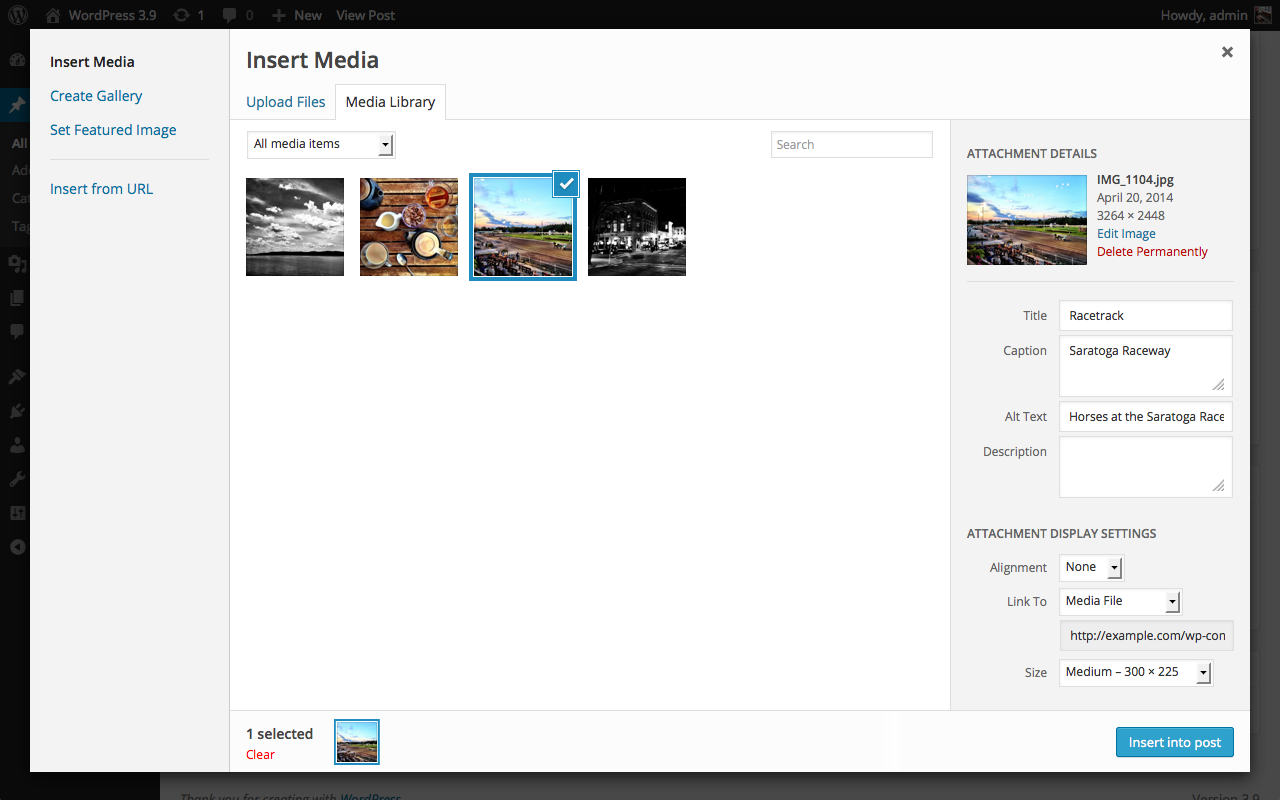
By pressing “Insert into the post”, the image or media file is inserted into the content to display in the WordPress online education theme.
After that, you can click on the inserted file and use the available options to customize it.

If you want to add the description for the file, write it in the Caption field while editing or inserting the file.
Edit media files
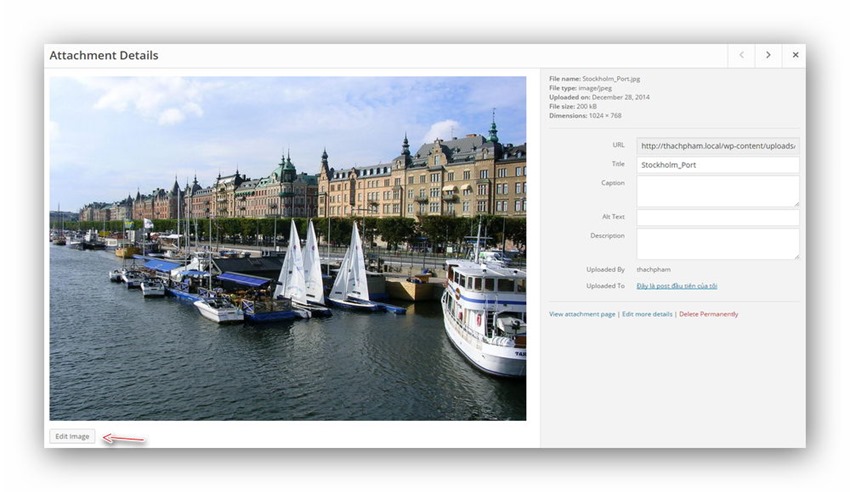
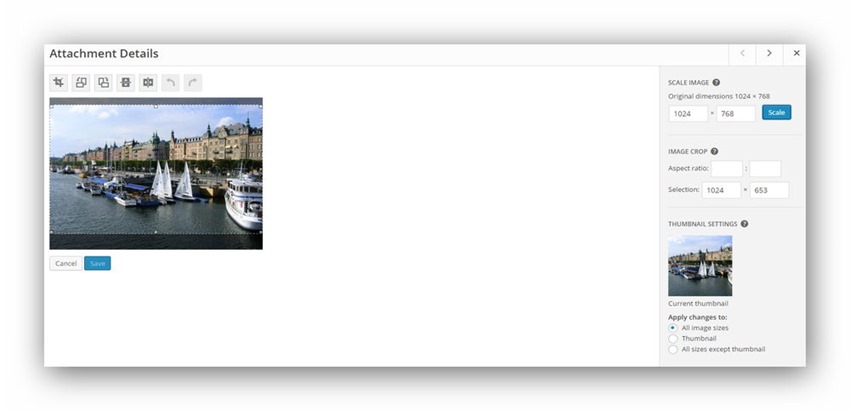
WordPress themes, especially the WordPress online education theme has a useful set of editing tools for images and media files on the website. You can cut, rotate or adjust the size of the files. All changes will be done directly on the WordPress education theme without other tools. To use this function, you have to go into “Media -> Library -> Choose the image for editing -> Edit image”.
After that, you can open it in the editor and edit as your preference. Next, you will press the button “Save” to complete image edition.
In conclusion, after reading this article, you will know how to insert any media files or images into the content of WordPress. Hopefully, you can use all the functions of WordPress education theme quicker and easier.

